Building growing facilities are not easy. Even the basic requirements needed are quite pricey. But an indoor growing room is beneficial in protecting plants from natural challenges and roadblocks. Especially when plants are at young clones or seedlings, they need more care and nutrition. So setting up grow rooms might be crucial for the plant's growth. This article introduces 5 steps suggested to indoor growers about building a grow room for plants babies.
- Prepare Supplies & Building Materials
- Setup Room Structure
- Build an Exhaust Fan
- Install Lights System
- Startthe Equipment
Step 1 Prepare Supplies & Building Materials
Before setting up, preparations are needed. Here are 12 materials in the following list designed to grow rooms of any size.
1.LED grow light (normally with hooks and linked chains to connect lights)
2.Squirrel or in-line exhaust fan (265cfm [cubic feet per minute] or more) will be adequate for rooms up to 12×12-feet
3.Oscillating fan, 12 to 18 inches.
4.One heavy-duty grounded timer.
5.Reflective material: flat white latex, album cool, white plastic, or reflective Mylar for wall reflection
6.One-gallon pump sprayer
7.Proper size vacuum hose (i.e. 5 to 6 inches) for exhaust fan (approximately 10-feet will be required)
8.Thermometer/humidistat or high-tech climate controller (optional)
- 9. pH pens for liquid (optional, but highly recommended)
- 10. pH buffer 7 solution (optional)
- 11. One-arm or two-arm Sun Circle for one or two lights, or track for one or two lights (optional)
- 12. Fire extinguisher
Step 2 Setup Room Structure
First, Room Circuit
The circuit should be with at least 15 amps. By leaving a stereo on while flipping the main breaker switches off and on, we’ll get a brief room circuit check. When the stereo shuts down, a grower should read the amperage on the switch at the main breaker. The stereo can be plugged into other circuits to see which other wall outlets are running on the same breaker.
Second, Cleaning & Sterilizing
The room should be cleaned and disinfected because a dirty or moldy room invites bug or mildew problems, which can lead to plant stress and disease, all of which affect yields.
Third, Wall Painting
The walls should be painted with flat white latex or covered with reflective Mylar, white plastic, or alumicool. Reflective material is important because light will hit the walls and reflect back, adding more usable light to the plants, which means greater yields. Alumicool, white plastic, and paint are fairly cheap options that work well.
Fourth, Higher Location
A place should be found in a high space, such as the attic or fireplace, for air to exhaust with an exhaust fan. As a result of an insufficient climate, plants are often less healthy, and that invites predators such as spider mites to take advantage of the weak plants. Air ventilation is extremely important so that CO2 can be replenished from the outside environment, to avoid stagnant air problems. Plants respond much better to higher air quality.
Step 3 Build an Exhaust Fan
The room volume can be calculated by multiplying length x width x height. For example, a room maybe 10 feet long, 10 feet wide, and 8 feet high, to give 800 cubic feet. Exhaust fans will remove so many cubic feet per minute (cfm). If an exhaust fan can remove 800 cubic feet (the room’s volume) in 1 to 5 minutes, it will do fine. In this case, a 265-cfm fan will remove all the air from a room in about 3 minutes:
265 cfm x 3 minutes = 795 cubic feet
Step 4 Install Lights System
The gardening system and lights can be set up at the same time because they will make a custom match. A grower will choose between a “flat garden,” “V-system,” or “column system.” Flat gardens can be used to grow plants of all sizes, but V-systems and column systems are used to grow small plants for the top buds.
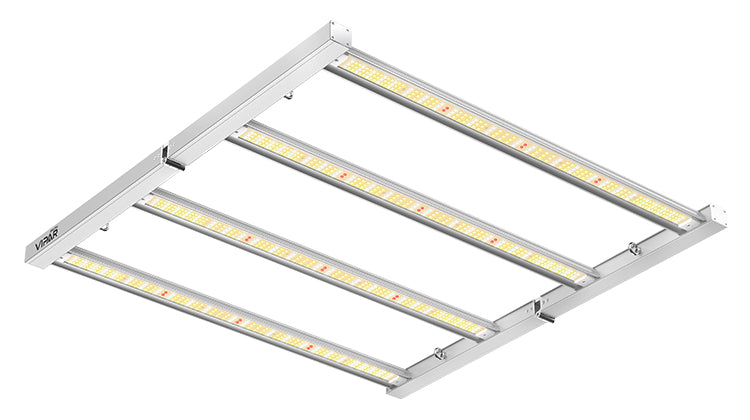
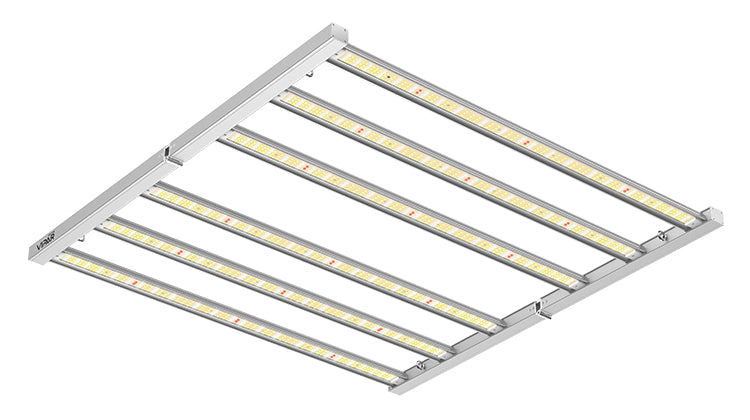
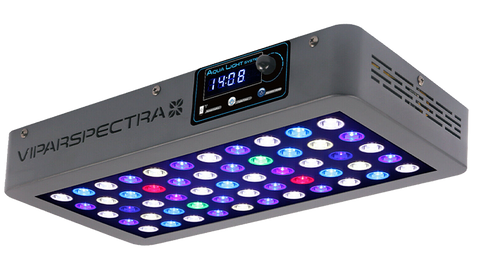
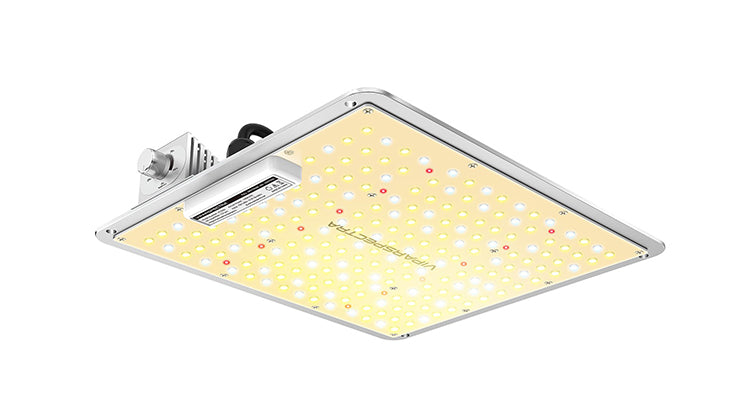
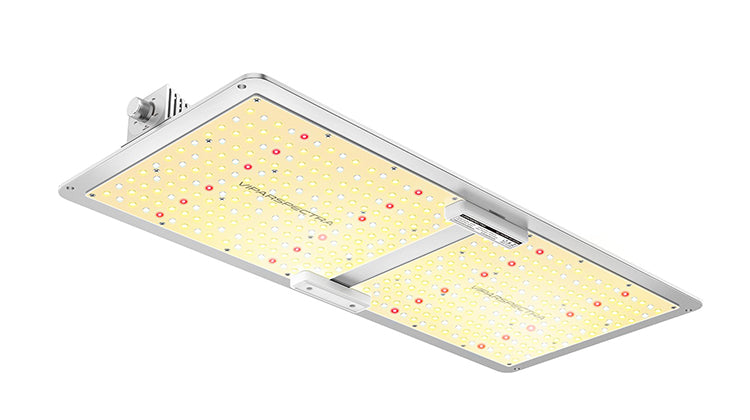
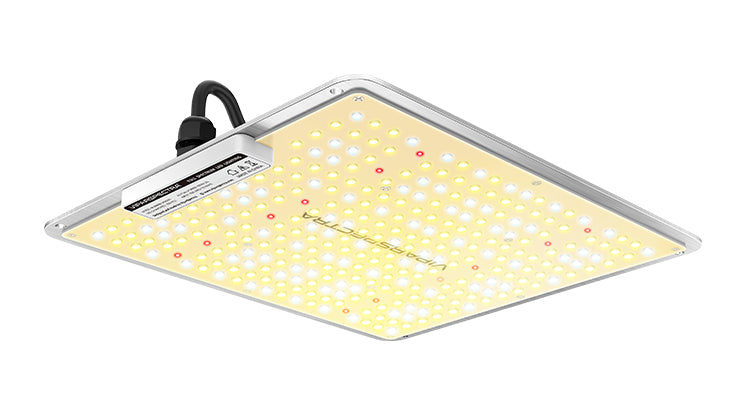
How to build the Grow Light system? Here, we take ViparSpectra LED grow lights as an example.
PS: ViparSpectra LED grow lights are excellent choices to grow indoor plants and give an option to set the temperature as per requirement. Their LED lights are good for plant growth, and the quality was solid.
Screw hooks into the ceiling studs. To locate the 2×6 or 2×4 stud, tapping the ceiling and listening for a strong, dull sound or using a stud sensor will locate it. The linked chain will be hung on the hook(s) to suspend the light kit(s). Plywood sheets or 2x4s can be nailed to the ceiling to support lights in the desired spot.
Step 5 Start the Equipment
Set one of the timers for 18 hours. A standard grounded household timer can handle 1,875-watts of power. Next, the grounded adapter ( i.e. the power bar ) should be plugged into the timer. The lights and oscillating fan should also be plugged into that adapter. The timer is plugged into the wall. If more lights are used that would exceed the 1,875 watts, then a different timer that can run several lights at once is recommended. If a grower is running several lights, such as 3 to 8, it is best to use a 240-volt dryer or oven circuit because that circuit can handle more amperage. The exhaust fan should be plugged into a separate outlet and left on. Things now begin.


